

1. Introduction
Phishing has never been easier than today. With the gophish framework you can start a phishing campaign within minutes. The Phising URLs are announced by gophish via email. The reliable sending of email is a challenge for phishers because of SPF, DKIM or DMARC. This tutorial is more about sending mails than phishing.
1.1 Exercise Goal
- get into the GoPhish docker service
- learn how to combine this with the MailCatcher
2. Setup
Please create a directory on your LiveCD with the following command
mkdir -p /opt/git/
Please use the following command to get the tutorial from GitHub
cd /opt/git
git clone https://github.com/ibuetler/gophish.git
Look at the contents of the docker-compose.yml You will see that besides the Gophish application the Mailcatcher application is included. This is a kind of "pseudo mail system" that allows you to receive mails.
cd /opt/git/gophish
cat docker-compose.yml

Please start the docker services using the following command
cd /opt/git/gophish
docker-compose up

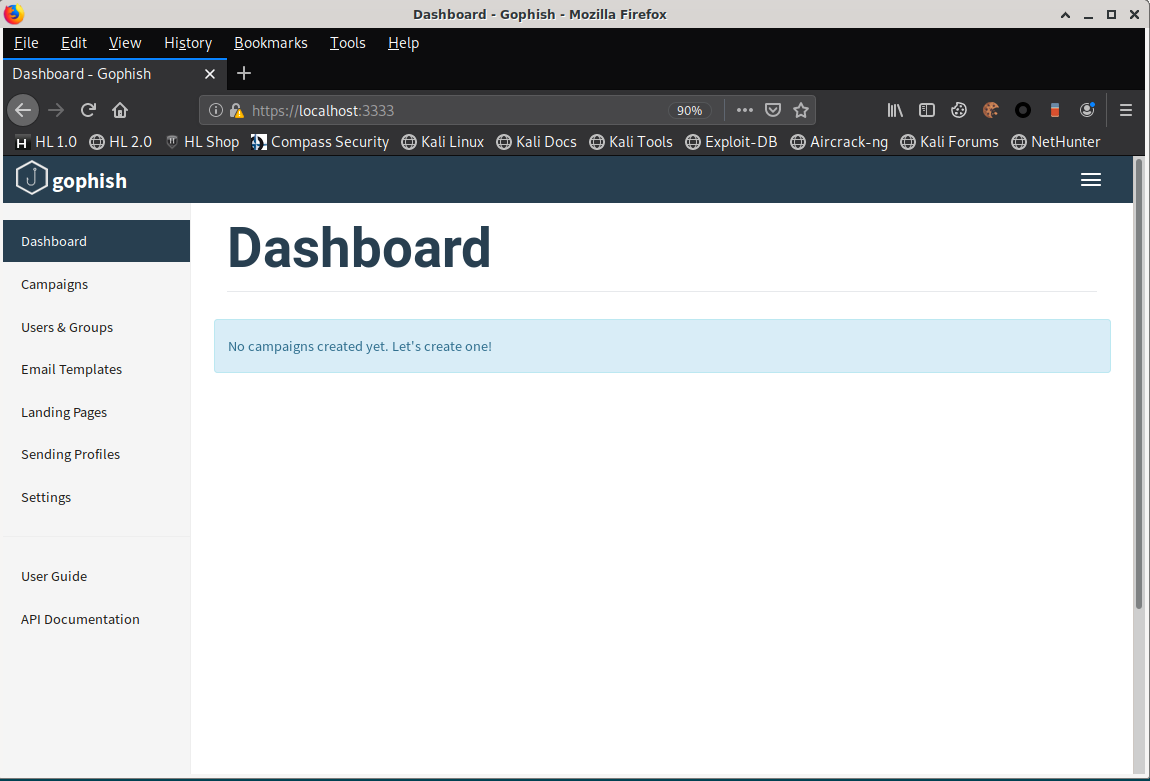
please login into your local gophish site on https://localhost:3333 using the following credentials
username is admin
password is compass
before we configure our phishing campaign, let’s test our fake mailserver too
Please open the following address with a new tab in your browser

This web ui is collecting e-mails sent to smtp localhost on port 1025. Let’s send a test mail in the next step.
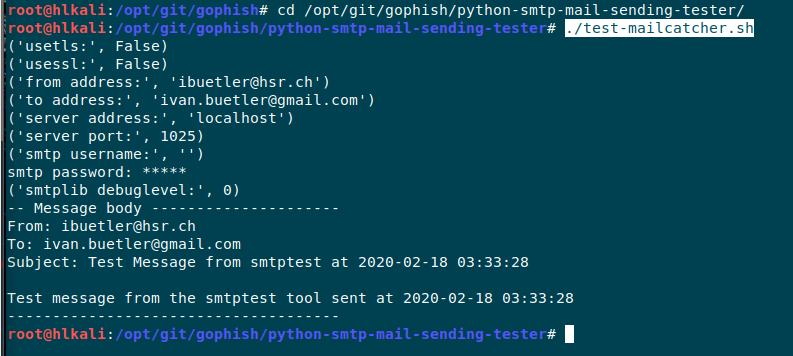
We will now send a testmail to the MailCatcher service to see, if we can catch it. Please perform the following tasks in your terminal. By pressing CTRL + SHIFT + T, you can get a new tab in your terminal.
>
cd /opt/git/gophish/python-smtp-mail-sending-tester/
cat ./test-mailcatcher.sh
./test-mailcatcher.sh
This will send a test mail to the MailCatcher service.
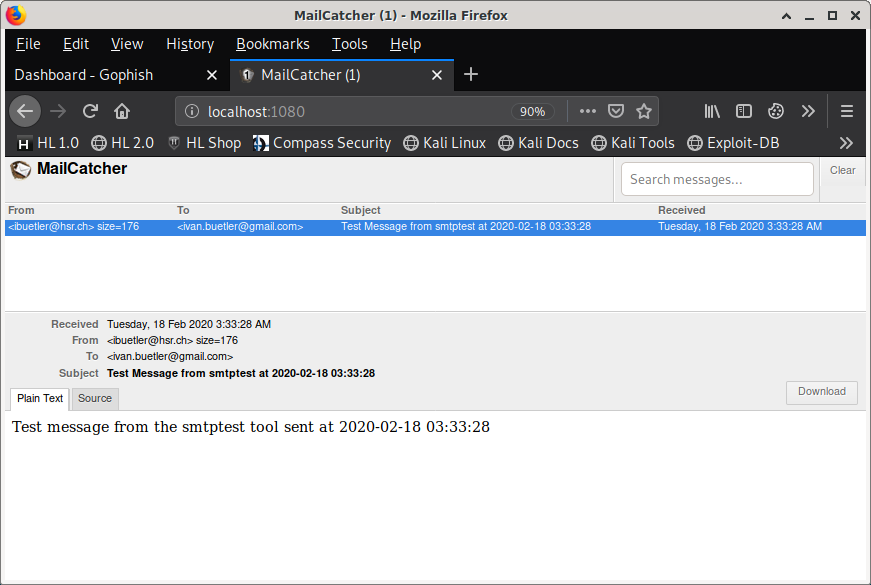
please check if this testmail has been delivered and can be seen in the MailCatcher web ui. Please press the refresh button in the browser and the mail should appear.
Instead of testing gophish with a real mailserver, this way we can get to know gophish without the risk of getting stuck when sending mails.
In the next step we will now create a phishing campaign in gophish step-by-step and catch the mails with Mailcatcher.
First, we need to create a "Sending Profile"
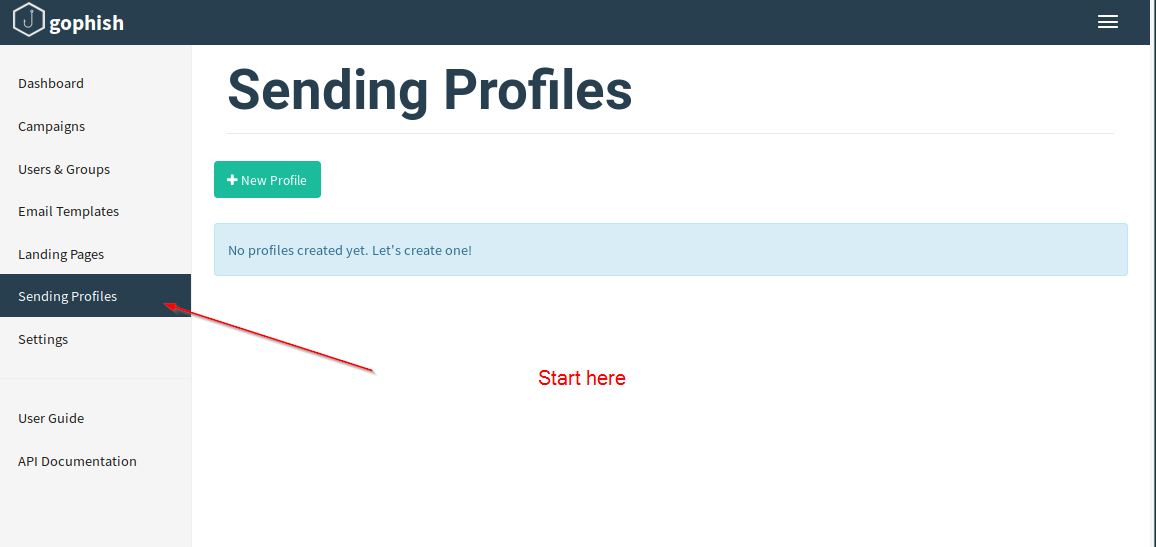
Please choose a title, the sending e-mail and the Host.
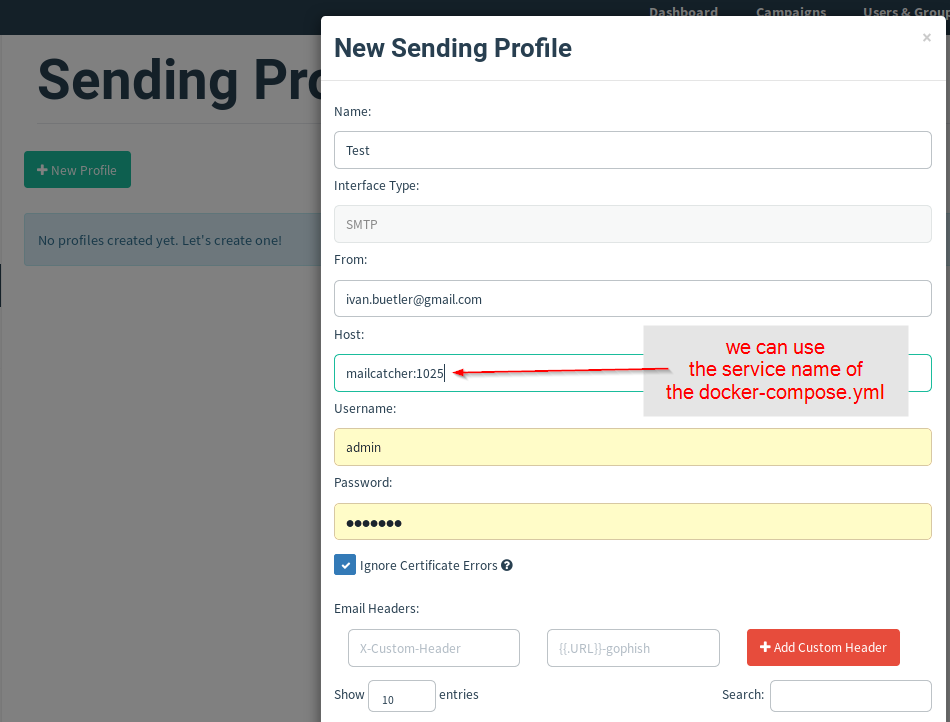
Please test your config by clicking on the Send Test Mail button. Add someone with e-mail in the recipient field and submit the test mail. A green message should appear.
Please check the mail in MailCatcher. You should see your mail there too.
IMPORTANT you must press Save Profile

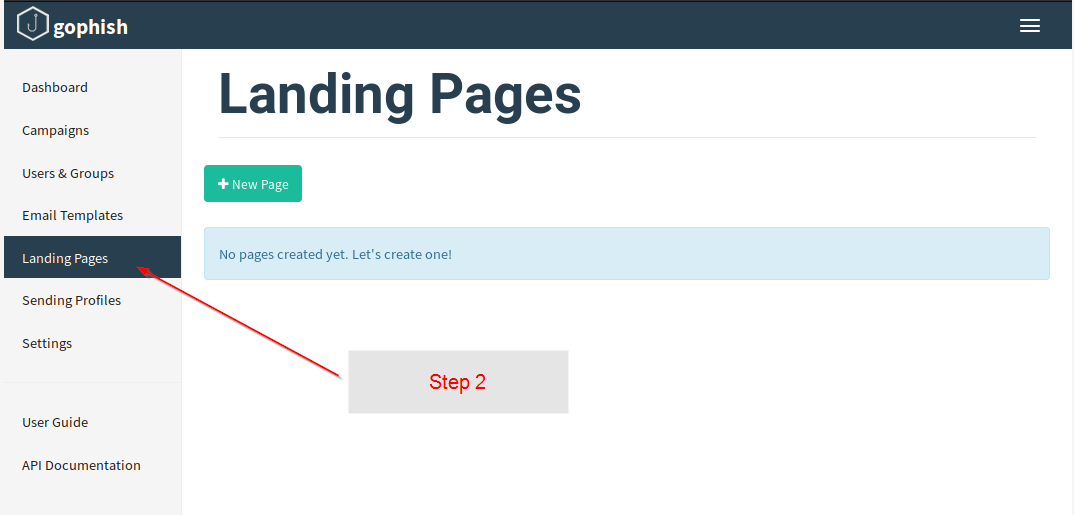
step 2 of configuring gophish – you need a landing page.
For the sake of this tutorial, we will use Wikipedia as our phishing target.
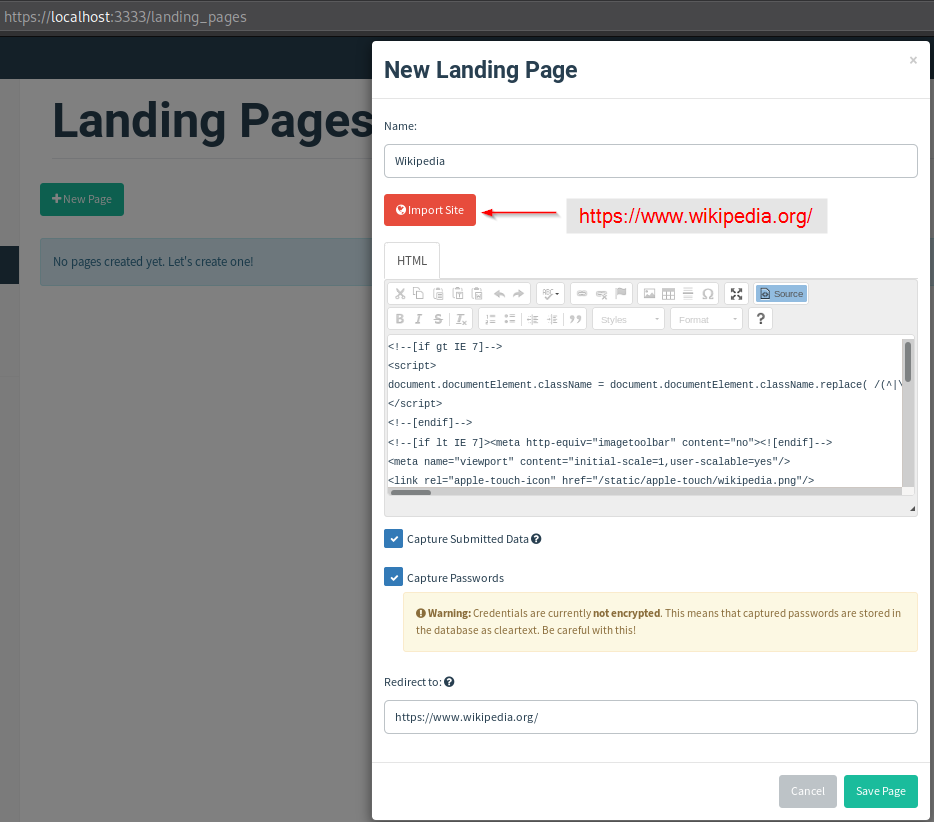
Make sure you save your config by pressing the Save Page button.
Now we are coming closer to our e-mail topic. We need to setup an Email Template.
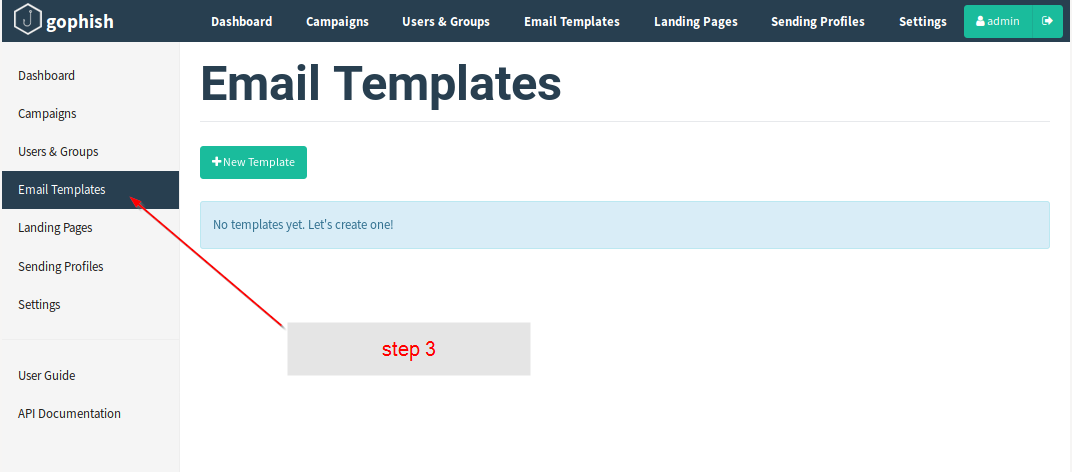
Please create your own template or choose one of the public available templates
https://github.com/criggs626/PhishingTemplates
Please follow the guide from gophish
https://docs.getgophish.com/user-guide/building-your-first-campaign/creating-the-template
Gophish provides several variables
>
{{.Email}}
{{.URL}}
{{.FirstName}}
{{.LastName}}
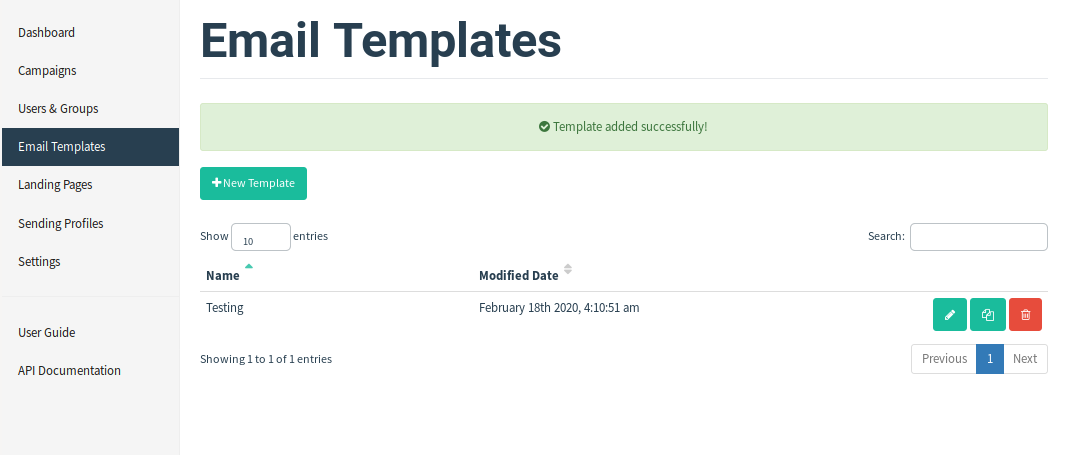
Write your e-mail using this variables. Here an example.
please save your work

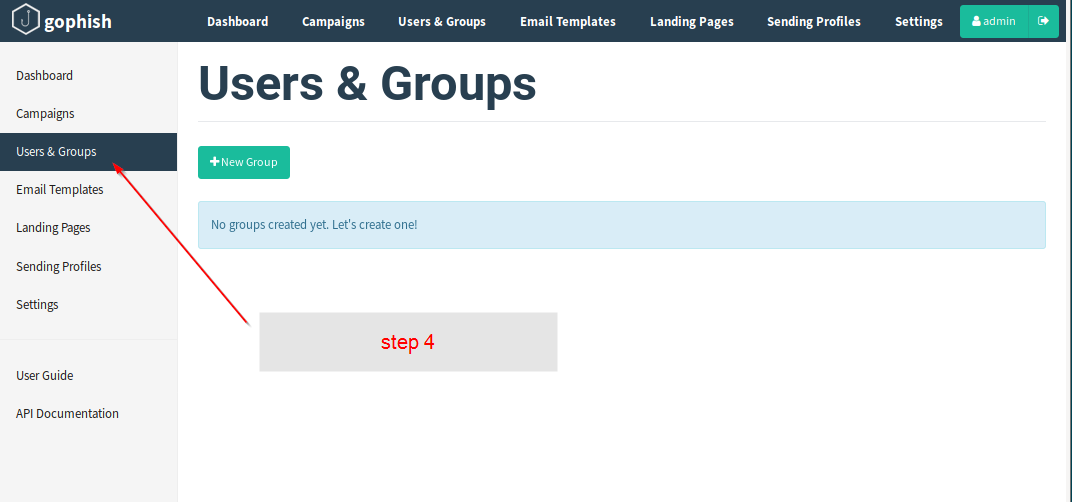
we must now configure the users and groups (target of the phishing campaign)
we have everything configured to run our phishing campaign.
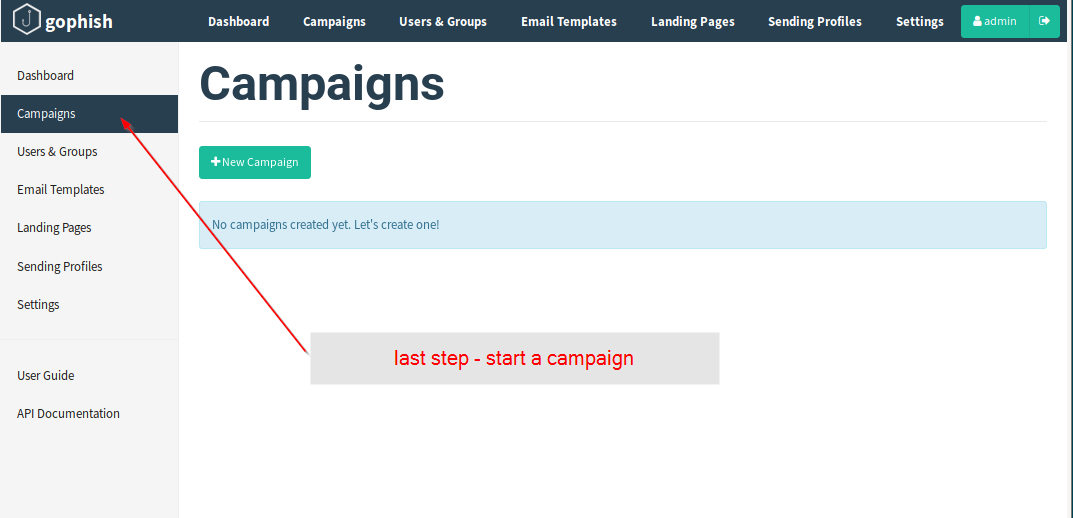
Please choose a name and fill out the form
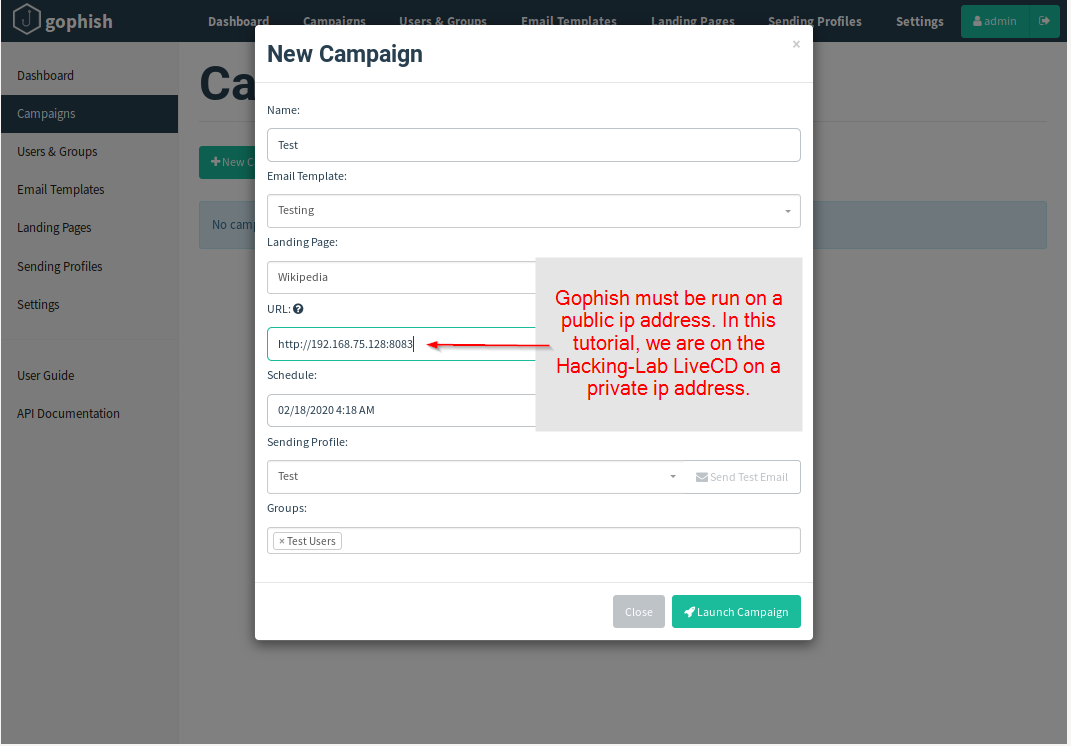
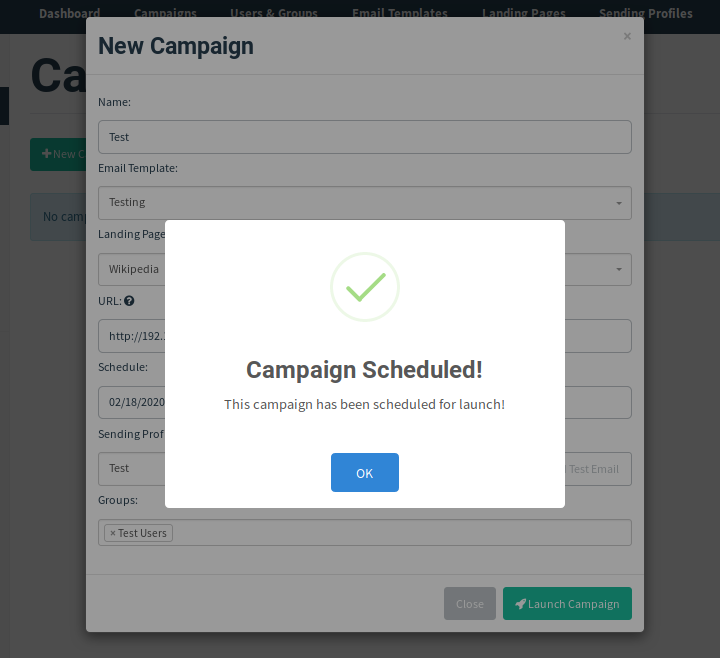
please press the "Launch Campaign" button. This will start your phishing campaign and you should receive phishing mails in your MailCatcher web ui (for all the e-mail targets you have configured)
Check Mailcatcher:

3. Impressions

